What counts as contact damage?
Contact damage is health lost when a character touches an enemy or another harmful object. In an enemy-heavy survival game, that simple rule can be hard to read: dozens of bodies may overlap, and an attack effect may hide the exact moment of collision. This is an unofficial, general guide to the mechanic, not a description of one game's rules.
Most games check collision using invisible shapes called hitboxes. An enemy's damaging shape and the player's vulnerable shape may be smaller or simpler than the artwork suggests. Some games deal damage the instant those shapes overlap; others check at intervals or apply damage while contact continues. A spike, projectile or damaging floor tile may use a different rule from an ordinary enemy. When a hit seems surprising, the cause may be a collision shape or timing rule rather than the visible sprites touching exactly.
Why one collision may lead to several hits
Many games give the player a brief period of invulnerability after taking damage. During that window, enemies can appear to pass through the character without removing more health. Once it ends, continued overlap may cause another hit. Other games rely more on knockback, moving the player or enemy apart. Neither protection is guaranteed: its duration, whether it applies to every damage source, and whether it can be modified vary by game.
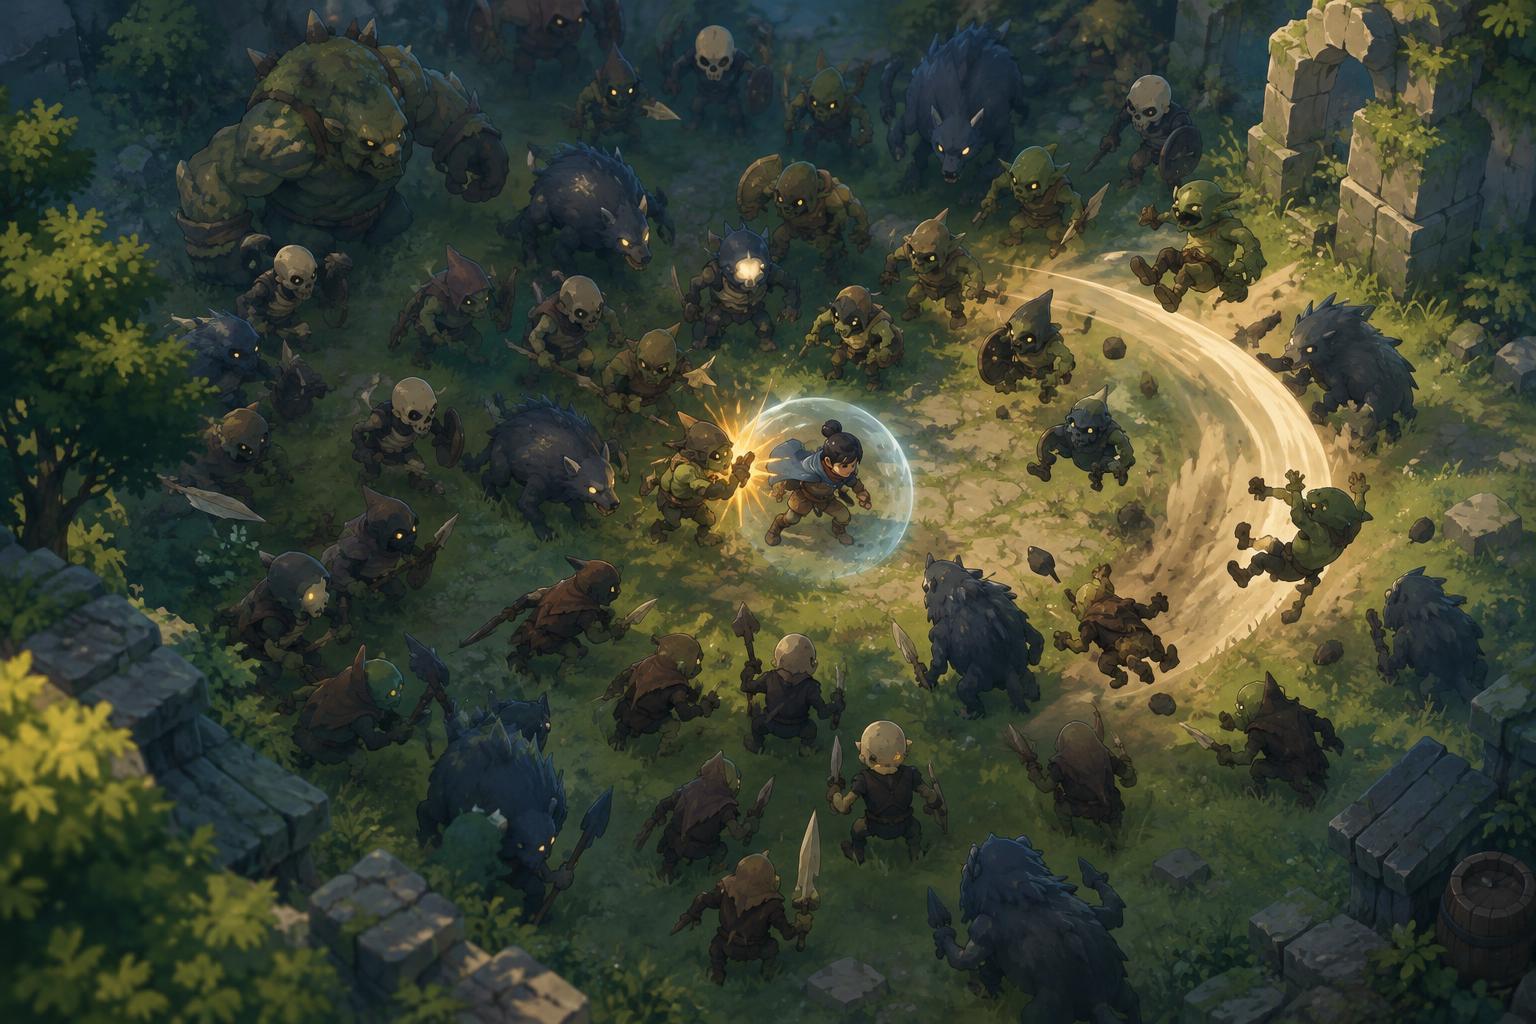
A crowded pack makes this sequence especially dangerous. The first enemy may land a hit, while nearby enemies block an easy route out. The player survives the initial impact but remains inside harmful space when protection ends. In some games, separate enemies or hazards can also trigger damage in quick succession. Rather than assuming that one visible bump equals one fixed loss of health, watch what happens over the next few moments: can you move, do you flash, and does health fall again before you escape?
Density changes the risk of every movement
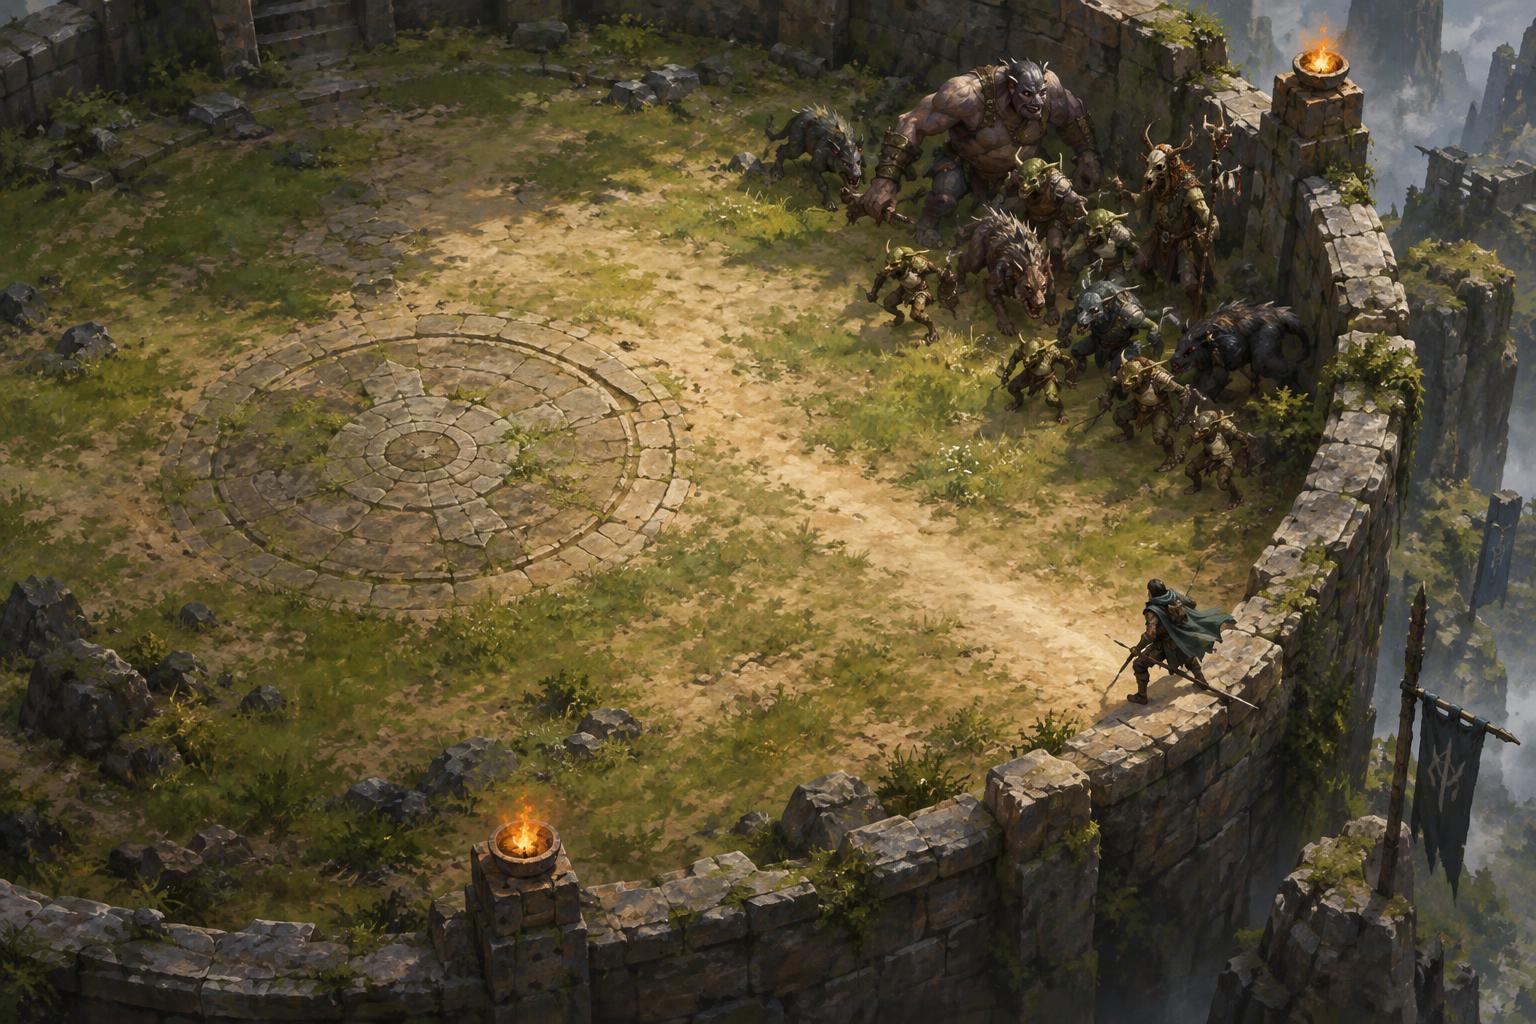
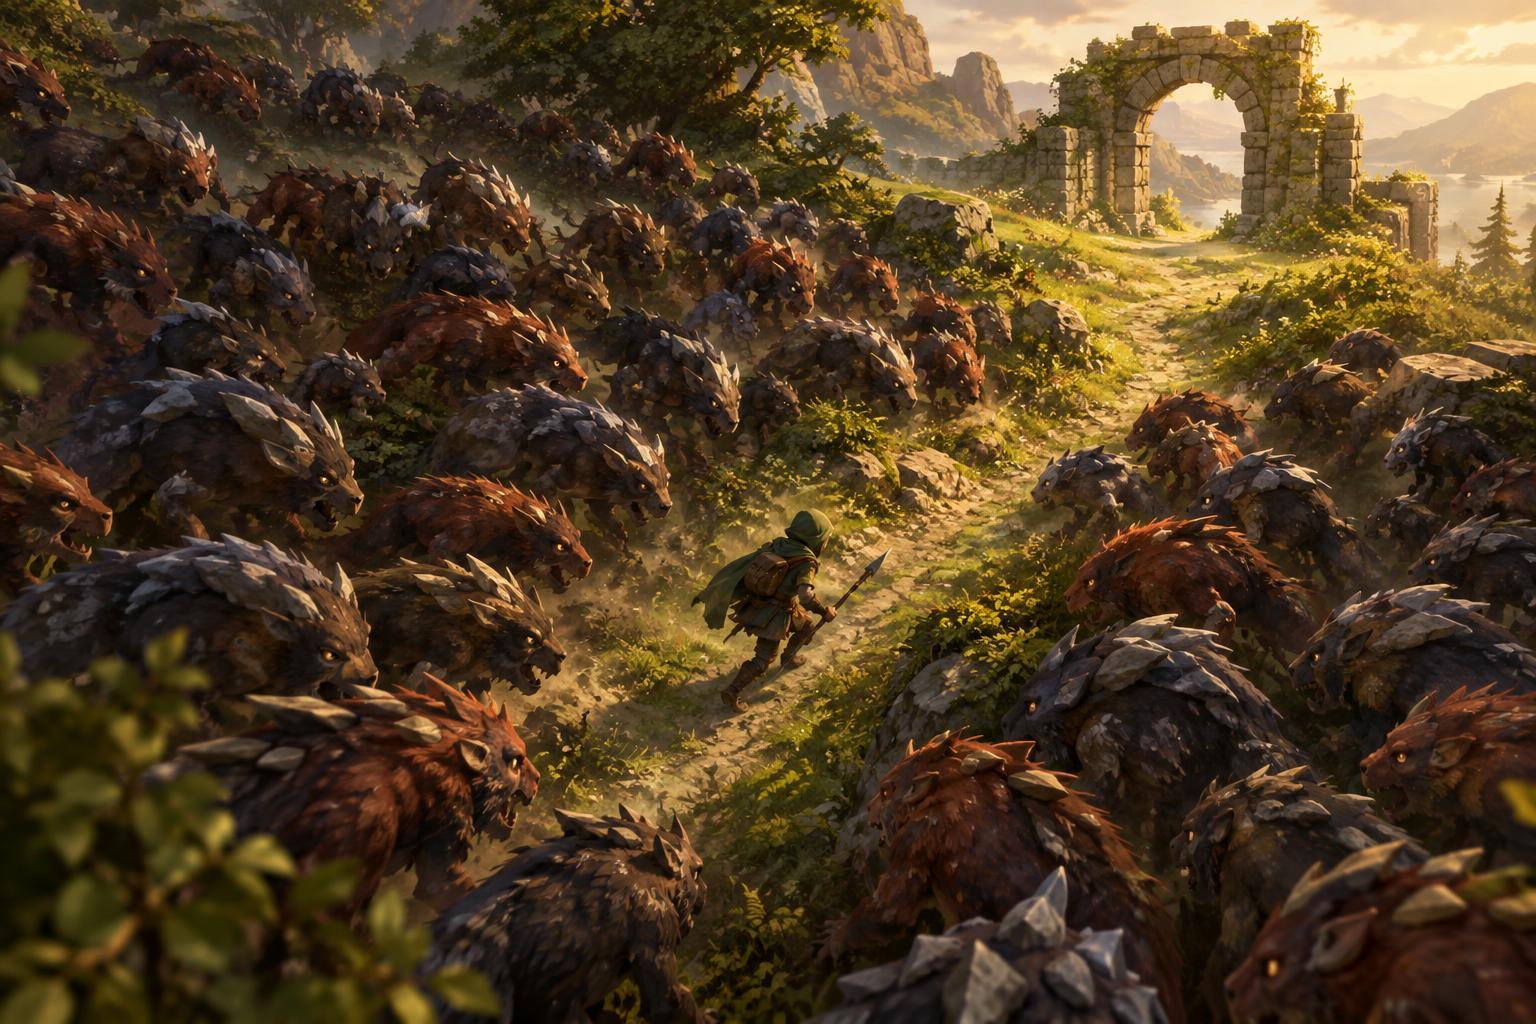
Enemy density matters because contact damage is partly a positioning problem. A lone slow enemy leaves room to step around it. A wall of slow enemies may close every direct path, even if none is individually threatening. Fast enemies can be dangerous for a different reason: they reduce the time available to recognize an opening. Large enemies may also occupy more space than their art makes obvious.
When possible, move toward open ground before the screen becomes packed. Guiding enemies into a loose group can create room on the opposite side, but circling too tightly may trap you against the group you gathered. Avoid treating a narrow gap as safe just because the player sprite appears to fit. Collision shapes, incoming enemies and the need to turn after passing through all affect whether that gap is useful.
How attacks and defensive tools help
Damage output can prevent contact damage by removing enemies before they reach you, but coverage is often as important as raw power. An attack aimed in one direction may clear a lane well while leaving your sides exposed. Attacks that cover nearby space, repeat often or push enemies away can make movement more forgiving. Their value depends on the game's enemy patterns and how reliably the attacks reach the threats around you.
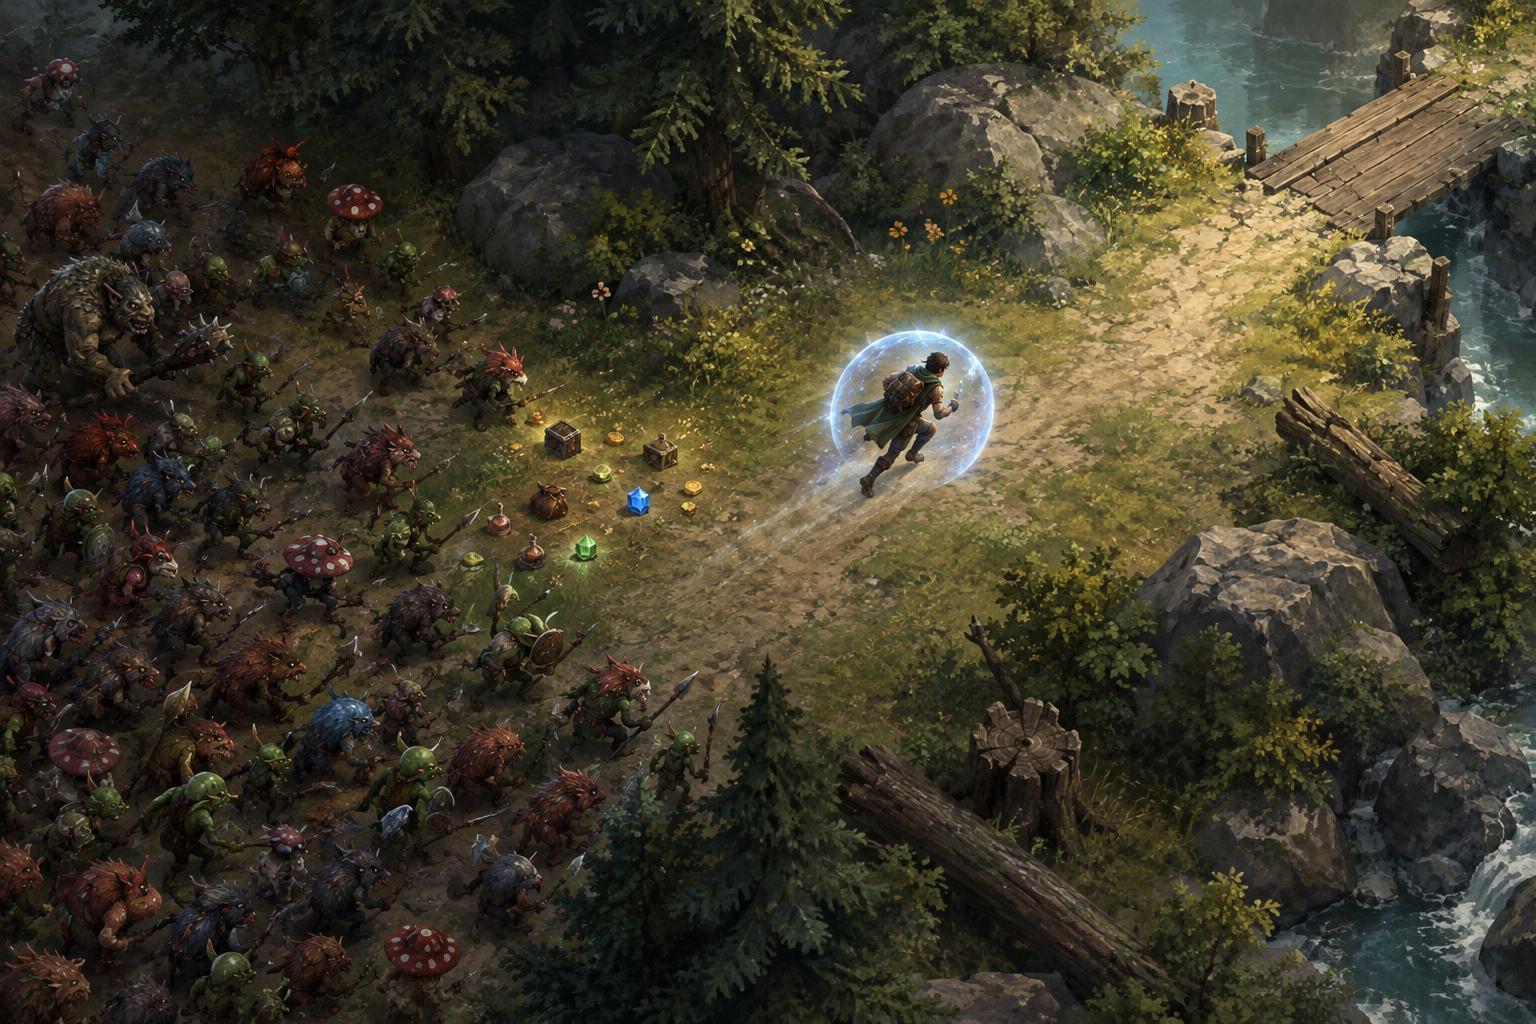
Defensive options may include extra health, damage reduction, shields, healing, speed or improved knockback. They solve different problems. More health provides a larger margin for mistakes; speed can help avoid contact but may make precise steering harder; knockback can create space without eliminating the enemy. If a game offers temporary invulnerability, plan to use that time to leave the crowd rather than stand still and rely on it. Check the game's own descriptions or test in a low-pressure run before building a strategy around a particular effect.
A simple way to learn a game's rules
Early in a run, observe a single enemy when the stakes are low. Approach carefully, note when health changes, then move away and see whether there is a flash, sound, knockback or pause before another hit is possible. Try the same observation near a small group, without risking an entire run solely for the test. Differences can reveal whether repeated contact, multiple enemies or environmental hazards behave differently.
Use what you learn to make one practical adjustment at a time. If repeated overlap is costly, prioritize escape routes. If attacks leave a predictable blind side, turn that side toward open space. If speed makes gaps harder to judge, favor wider paths over sharp last-second cuts. Contact damage will still be part of an enemy-heavy game, but understanding when it happens makes health loss easier to anticipate—and gives you more choices before the screen closes in.