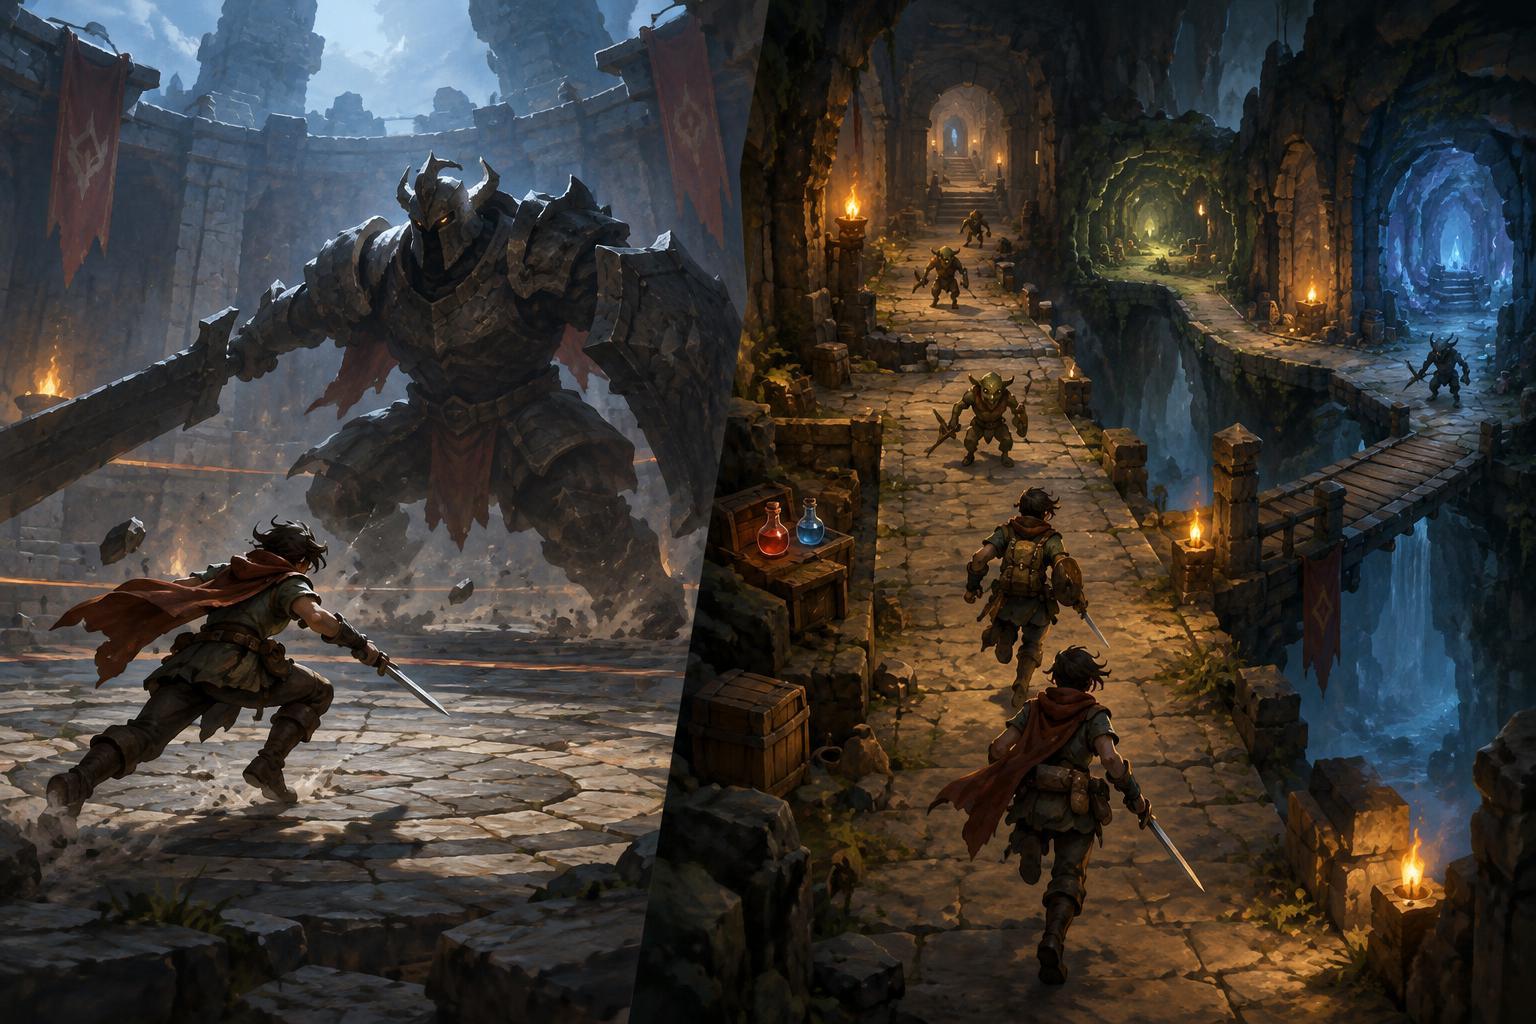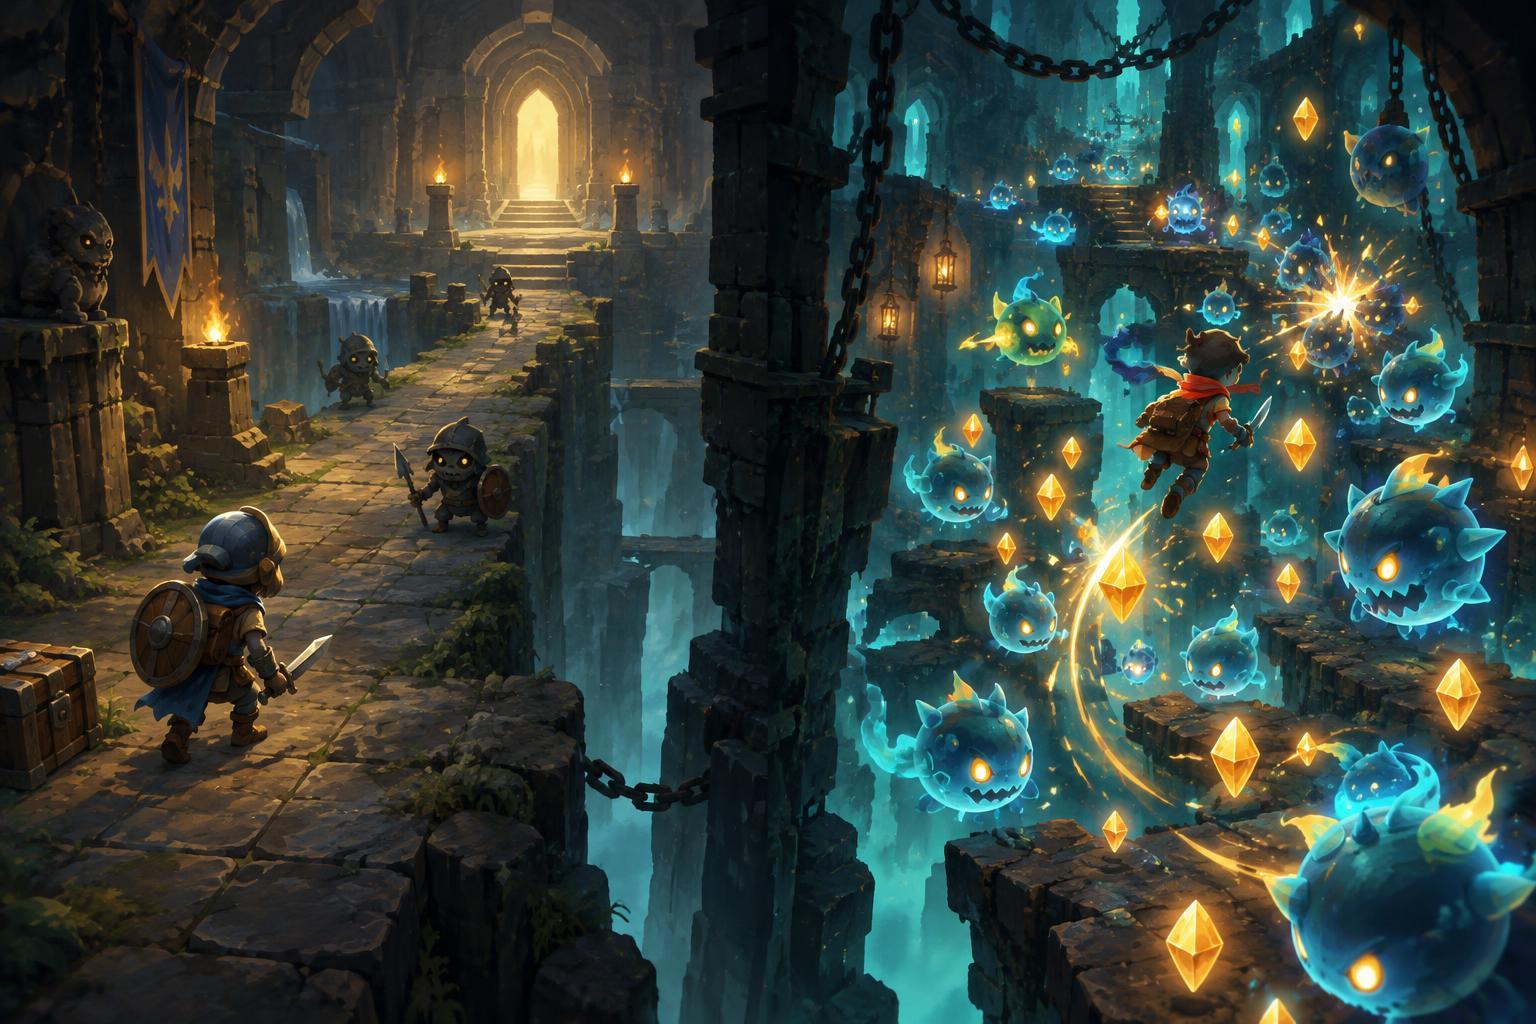
Read the arena before committing to a route
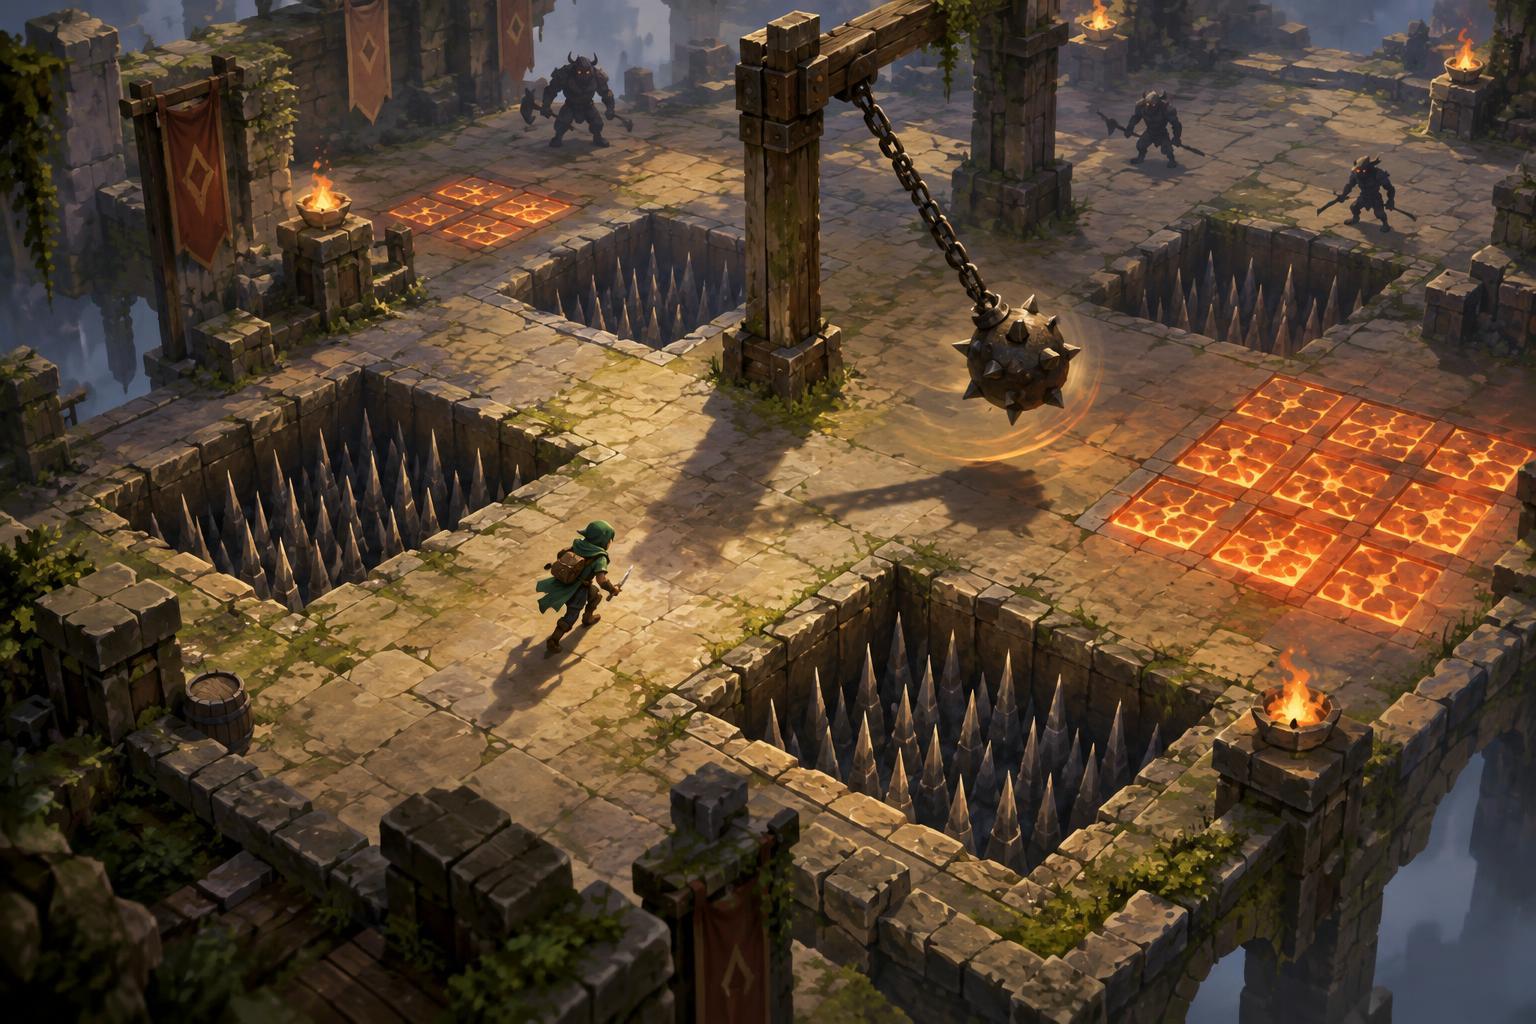
In an arcade arena, a trap is rarely dangerous only because it deals damage. It may also force you to stop, change direction or enter the path of an enemy. Before crossing an unfamiliar area, look for the full sequence: where the hazard begins, how it signals activation, how long it remains active and where you can stand afterward. A safe-looking gap is less useful if it leads into a corner with no exit.
During the opening moments of a run, make a low-risk circuit when the game allows it. Notice narrow passages, walls that interrupt movement, and hazards that activate on a timer or when approached. You do not need to memorize every tile. Identifying a few reliable open spaces and escape routes gives you a practical map for later, when enemies make careful inspection harder. If the arena changes between runs, treat those observations as provisional rather than assuming the same route will always be safe.
Make hazard timing part of your movement
Many traps reward steady movement more than last-second reactions. If a floor panel flashes before becoming dangerous, watch one cycle from a safe position before crossing. If an obstacle moves back and forth, aim to pass behind it rather than racing toward it. The exact cues vary by game, so test timing with room to retreat instead of betting a run on an uncertain pattern.
Think about your momentum as well as the trap itself. A dash might clear a dangerous strip but carry you into an enemy group. A short pause may let a hazard deactivate, yet stopping in the middle of a crowd can be worse than taking a longer route. When both enemies and traps are active, preserve an exit lane. Moving around the outside of a hazard often buys more control than cutting straight through it, even if the detour takes a few extra seconds.
Use hazards without becoming dependent on them
Some arenas let traps affect enemies, creating opportunities to draw a crowd through a damaging zone. This can save attacks or open a path, but only if you can guide the group without trapping yourself. Lead enemies toward the hazard from a position with space on the far side, then turn before the crowd closes the route behind you. If the trap harms only the player, use the same positioning principle in reverse: keep enemies from pushing you toward it.
Do not assume a hazard is worth exploiting every time it activates. Loot, experience drops or objectives near a trap can tempt repeated risky crossings. Ask whether you can return when the crowd thins, approach from another side or leave a minor reward behind. In a run-based game, staying alive long enough to make the next decision is often more valuable than collecting every item immediately.
Choose builds that leave room for mistakes
Hazard-heavy arenas change what makes a build comfortable. Movement options can help you cross exposed ground, while wider attack coverage may clear enemies from the route you intend to take. Defensive tools can provide breathing room when a trap and an enemy attack overlap. None of these choices is universally best: a movement ability with a long recovery, for example, may be less helpful if you must cross several hazards in quick succession.
Try to identify the specific problem your build needs to solve. If you keep getting boxed into corners, favor tools that create space rather than adding damage that reaches only straight ahead. If you can move freely but misjudge activation windows, prioritize visibility and a deliberate pace over another offensive upgrade. On-screen effects can also hide warning cues; where settings permit, reducing visual clutter or adjusting contrast may make hazard patterns easier to read.
Recover from a hit and learn from the run
A trap hit does not always mean the run is lost. First, move to a clear area instead of immediately trying to reclaim your old route. Check whether the hazard is about to trigger again, whether enemies are following you and whether a safer circuit remains available. Frustration can turn one mistake into several if you rush back through the same crossing without changing your approach.
Afterward, name the cause as precisely as you can. Did you miss a visual cue, enter a passage without an exit, or use a movement ability too early? Each answer suggests a different adjustment. Independent editorial guides can offer general tactics, but the most reliable plan for any particular game comes from observing its own rules. Treat each failed crossing as information, then make one small change on the next attempt.