Treat the ground as part of the threat
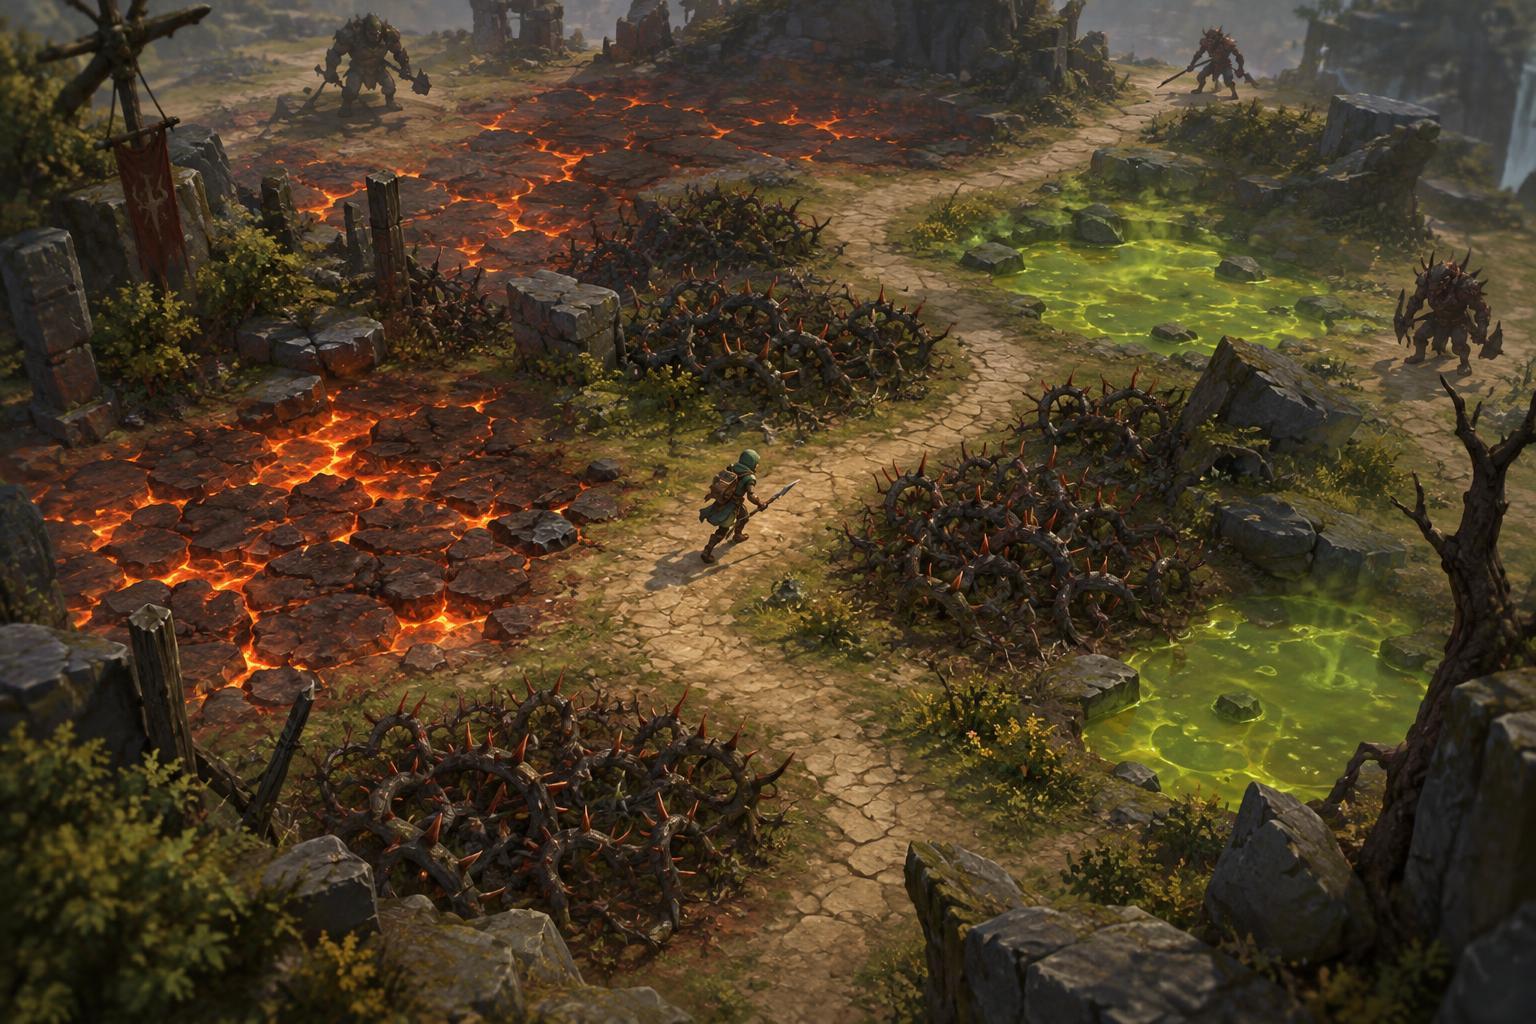
In an enemy-heavy survival game, it is easy to watch the nearest creature and overlook the space beneath your character. A glowing tile, a spreading pool, or a marked strip of floor may be just as important as an approaching enemy. Some hazards deal damage on contact; others become dangerous only after a warning or remain active for a short period. The exact rules vary by game, so begin by identifying what changes before and after a hazard activates.
Look for a repeated sequence: a mark appears, the area changes color or shape, an effect occurs, and the ground returns to normal. You do not need to memorize every animation immediately. Noticing whether there is a warning, and whether the marked space stays dangerous afterward, gives you enough information to make a better movement choice.
Give unfamiliar hazards room
When a new floor effect appears, avoid using its edge as your only escape route. Visual boundaries do not always make it obvious where the dangerous area begins, especially when enemies, pickups, and attacks overlap. Move toward clear ground with a little extra space, then observe what happens. If you can do so safely, note whether the effect follows you, stays in one place, expands, or repeats at regular intervals.
A warning marker often points to where danger will occur, not where you must go. Rather than sprinting across the entire arena, a small move outside the marked area may be enough. This leaves more room to respond if a second hazard appears. If the effect tracks your position before activating, keep moving toward open space instead of leading it into the route you hoped to use next.
Choose a route, not just a safe spot
The nearest patch of clear floor is not always the best destination. Before moving, glance at what lies beyond it. A small gap between two hazards may look safe now but offer no exit when enemies close in. A slightly longer route around the outside of a marked area can be better if it preserves room to turn.
Try to keep one broad direction available. If a hazard divides the arena, follow its boundary only while you still have space to leave it. Avoid standing at the end of a narrow corridor formed by dangerous ground and an enemy group. If the arena has moving hazards, watch the direction of their travel and cross behind them when there is a clear opening, rather than racing ahead of them.
Pickups can complicate this decision. A useful item on hazardous ground is not automatically worth collecting immediately. Check whether the danger will expire or move away, and whether you can return without giving up your escape route. Passing up a pickup for now is often simpler than trying to recover from a risky detour.
Adjust when hazards overlap with enemies
Floor effects become harder to read when enemies crowd the same area. In that situation, focus on the next few steps rather than trying to solve the whole arena at once. Find a clear lane, move through it, and reassess. A sudden turn toward apparently empty ground can still be dangerous if that ground is marked to activate soon.
Pay attention to which threat is forcing your movement. If enemies push you toward a hazard, moving earlier may give you a wider path around both. If a hazard pushes you toward enemies, look for a gap that lets you continue past the group rather than stopping beside it. The goal is not always to avoid every close call; it is to avoid exchanging a manageable threat for a position with no clear way out.
Learn the pattern after each attempt
If you take damage, use the moment to learn one specific rule. Did the marked ground activate sooner than expected? Did it remain dangerous after the visible burst? Did you enter it while trying to collect something? One clear observation is more useful than simply deciding to move faster next time.
Visual effects can also be difficult to distinguish from ordinary scenery or your own attacks. Where a game offers display or accessibility options, consider settings that make warnings easier for you to see. If the rules remain unclear, give the effect more space until you understand its timing. Reliable routes come from recognizing when ground is safe to enter, how long it stays safe, and where you can go afterward.